
When your printed score is just a bunch of loose papers
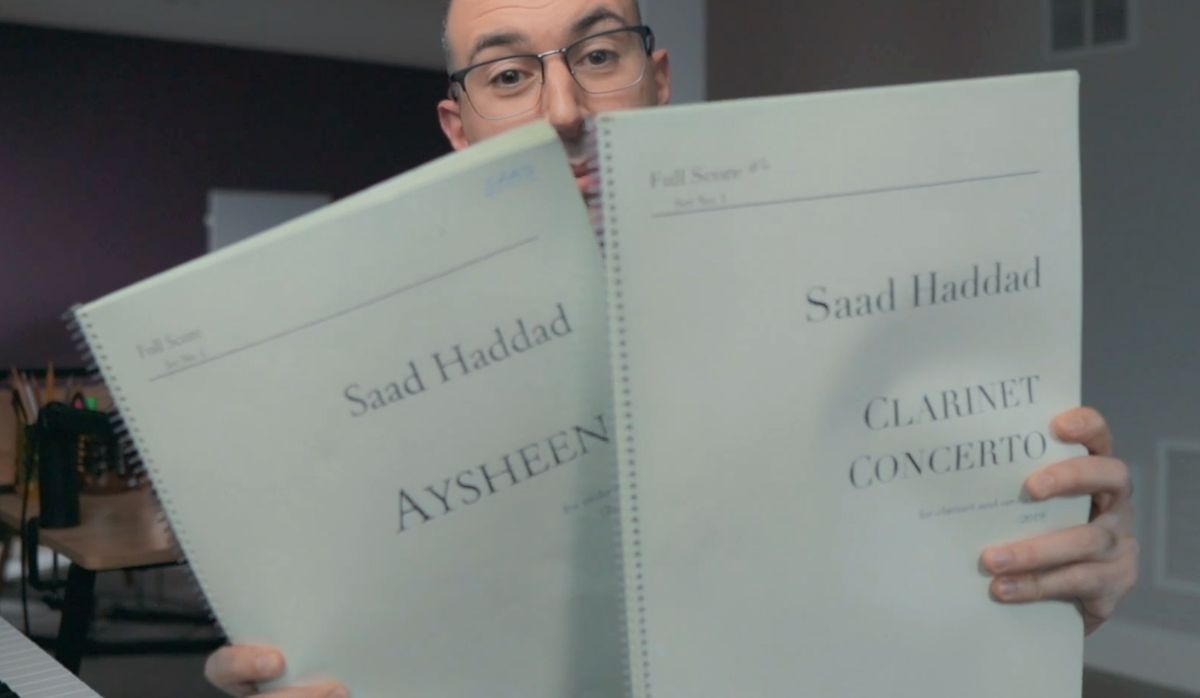
For me, a piece is not completely done until I've actually seen it in my own hands. Printing and binding music scores is normally a huge hassle, so here's my relatively simple process, from the PDF to the crimp on the end of the coil.
 By Saad Haddad, composer
Here's the video this post comes from (7 minutes), or you can read it below.
- Start with a PDF and the right size
- Pick paper with a high quality touch
- Print it, double-sided
- Hole punch the score
- Coil bind the score
- Close the coil off so the papers don't fall out
It's not enough for me to see a piece on the screen. I really need to see it printed and bound.
1. Start with a PDF and the right size
First things first. After you've finished your piece in the notation software of your choice, you're going to have to export your piece as a PDF file.
I'm going to focus on printing orchestral scores, but you can apply this method for any size paper. In the U.S., an orchestral score is typically the 11 by 17 inch size, otherwise known as tabloid size.
If you're not from the U.S., you can use the A3 size paper. It's about the same size as the tabloid paper that I was using.
2. Pick paper with a high quality touch
The size of the paper is not the only consideration. It's the quality of the paper as well.
When you present your materials to a conductor, or really anybody performing your music, you want that music to have a high quality touch. That's going to be the very first impression that person is going to have of the music itself, before they even hear it or rehearse it.
The color
The paper in the video is a Springhill Offset Cream 70-pound text offset paper, which I'd been using for many years. The most obvious thing about it is the color. It's a kind of off-white. They call it cream-colored paper.
The weight
The other thing you should notice is the weight of the paper. It's a 70-pound text offset paper, but I think it's more important to look at another metric, and that's grams per square meter. For this paper, it's about 105.
So this is really what you should be looking for. Any kind of paper you're using, you want to make sure that it's around 105 grams per square meter, give or take 5 or 10 grams or so.
3. Print it, double-sided
The printer is really the most expensive part of this operation. I used a big hunk of a printer, and this is not necessary at all. I just liked that particular printer because it's a laser jet printer that prints 11 by 17 inch tabloid size paper, as well as the larger 12 by 18 inch paper that I used to print my parts.
A much cheaper alternative is to get yourself a little inkjet printer that prints up to the 11 by 17 inch size. The downside is that they're a lot slower and they take up more ink, so that's something to keep in mind while you're taking a look at printers.
Prints up to 11 by 17
A must if you're planning to print frequently, in my opinion
Other than that, you don't really need anything spectacular. All it needs is to be a black and white printer that prints up to 11 by 17 inches.
It doesn't even really need to print on both sides of the paper. You can easily manually feed the printer and do it yourself that way.
But then I'm done printing, and I just have a bunch of loose papers. How am I going to present that to the person that needs to see it?
4. Hole punch the score
For me, I finish the job by hole punching and coil binding the score. The binding machine in the video is very heavy duty and very expensive, and I'd been using it for over 10 years. That being said, there are many cheaper alternatives.
With this particular paper, you can't hole punch more than 4 or 5 sheets at the same time. So if you have a stack of, say, 50 sheets, you're going to have to do 10 of these hole punches. The process can actually take some time, but it's definitely worth it at the very end.
Flip the paper and punch again
After I finish hole punching one side, you'll notice there's a stretch at the very edge of the paper that doesn't have any holes yet.
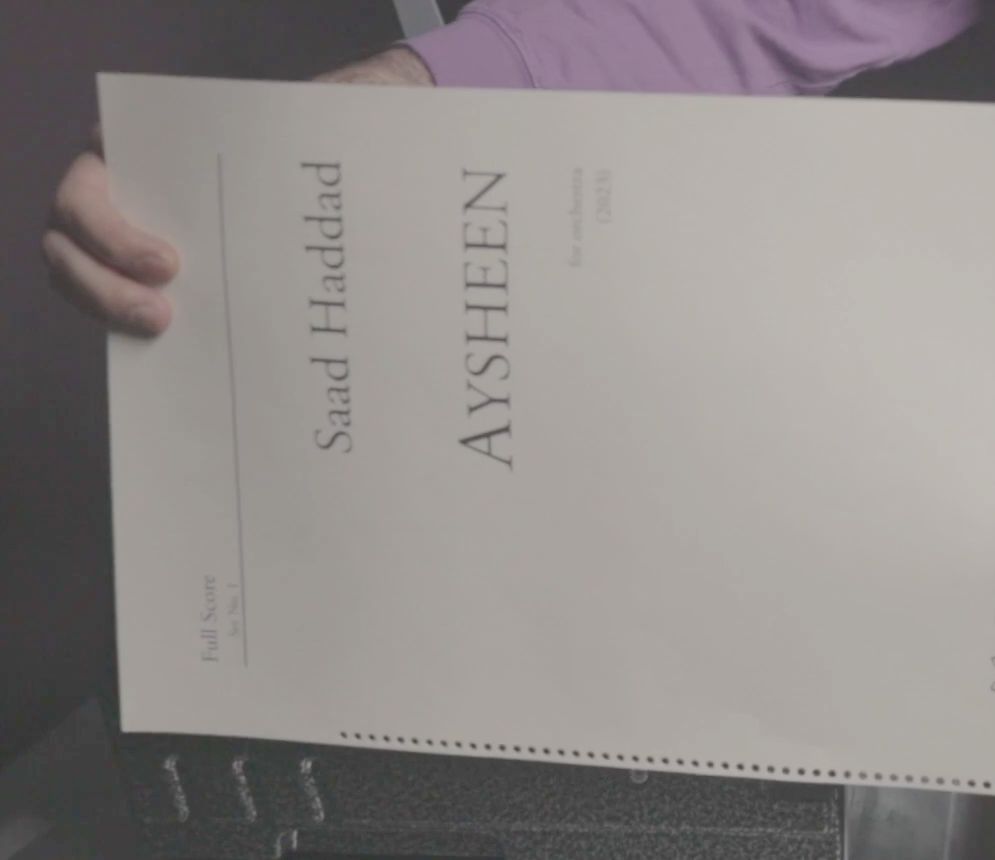
So what I've got to do is flip the paper the other way, 180 degrees, and put it back inside the hole punch machine. I line it up by putting one of the holes on top of this little indentation that's inside the machine itself. Then I press the lever once again.
- 1Put in 5 sheetsWith this paper you can't hole punch more than 4 or 5 sheets at the same time.
- 2Press the leverThat does one side.
- ?No holes at the very edge of the paper?You'll notice it after you finish hole punching one side.
- 3Flip the paper 180 degreesPut it back inside the hole punch machine.
- 4Line it upPut one of the holes on top of the little indentation inside the machine.
- 5Press the lever once againWith 50 sheets, 5 each time, that's 20 times in total.
So in total, if you have 50 sheets and you put in 5 sheets each time, you're going to have to push that lever down 20 times. It does take a little bit of time to learn, but once you get the hang of it, I promise you it's a breeze.
5. Coil bind the score
Now that your score is hole punched, the last step of the process is to coil bind it.
I like to use the clear ones, because I like how the clear spiral coils look on my score. You can easily get any color you want. You can go for black, for example. Just something that looks as professional as possible will do the trick.
Get the right length
Make sure that when you buy these coils, you get the right length. You don't want to get one that's exactly 17 inches. You want to get one that's a little longer, 18, 19, 20 inches, so that you can make sure it will actually fit through all the different holes on your score.
Wrap it through all the holes
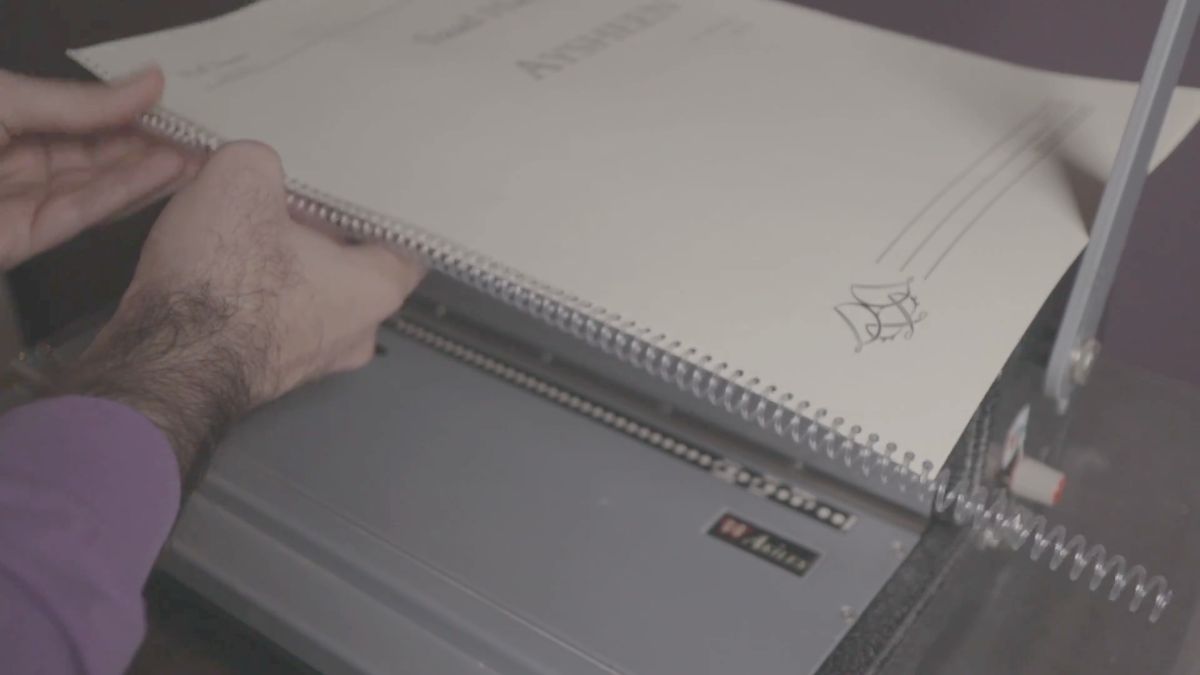
Take your score and put it on a flat surface. Then take one end of the coil and slowly wrap it through all the holes of the score until you get to the very, very end.
6. Close the coil off so the papers don't fall out
Once you get to the end of the score, you'll realize that if you don't close the coil in some way, the papers are just going to all unwind and fall out, and you'll have a big mess on the floor.
So what I like to do is wrap the coil around a little bit more and extend it about an inch or 2 past the edge of the score. That way I have enough room to cut the coil and then close it off.
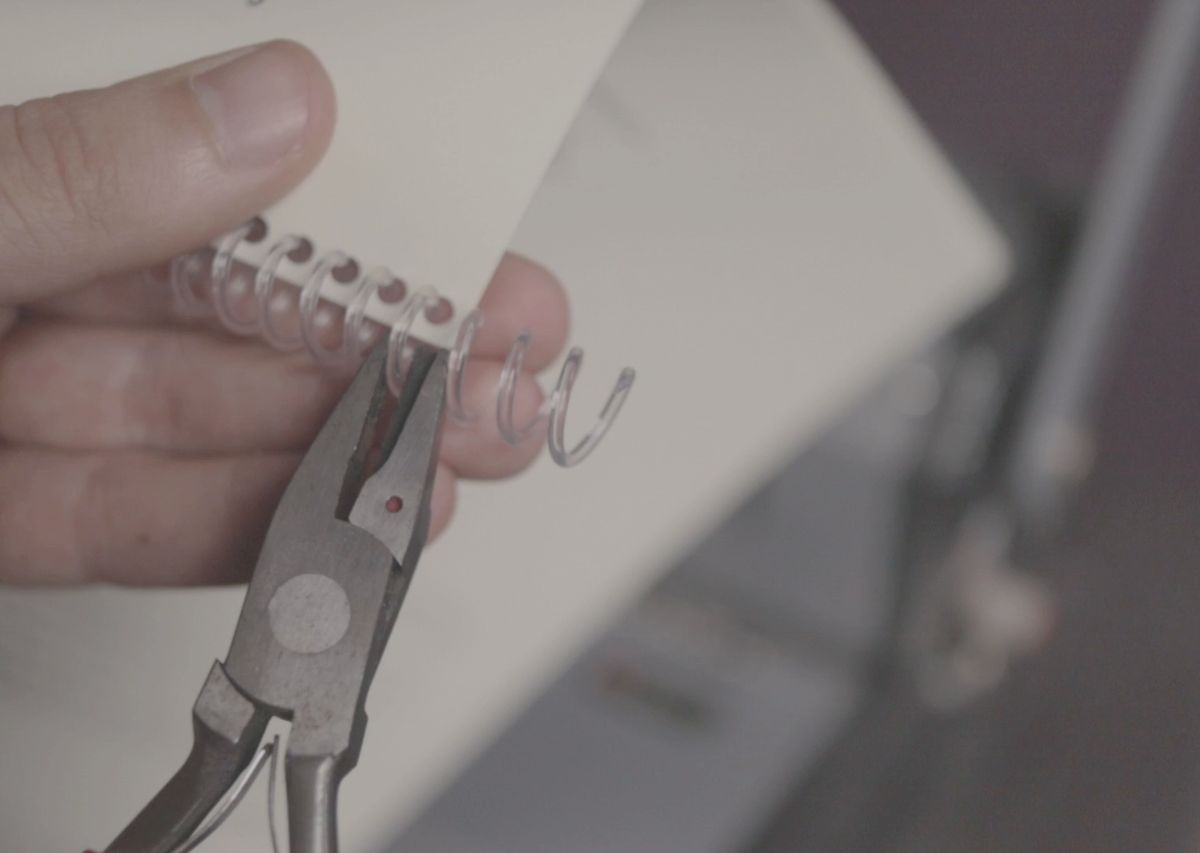
Make sure that the coil crimper is in a horizontal position, with the red dot facing up on the right side of the crimper. Then go to the spot of the coil that you want to cut. Cut it real fast. Don't let go. Turn clockwise to the right, and then release.
- 1Extend the coilAbout an inch or 2 past the edge of the score.
- 2Hold the crimper horizontalWith the red dot facing up on the right side of the crimper.
- 3Go to the spot you want to cutCut it real fast, and don't let go.
- 4Turn clockwise to the rightAnd then release.
- 5Flip the scoreCrimp the other side as well.
That way you're going to get a really nice crimp at the very end of your coil. Once you've done one side of the score, flip it and crimp the other side as well.
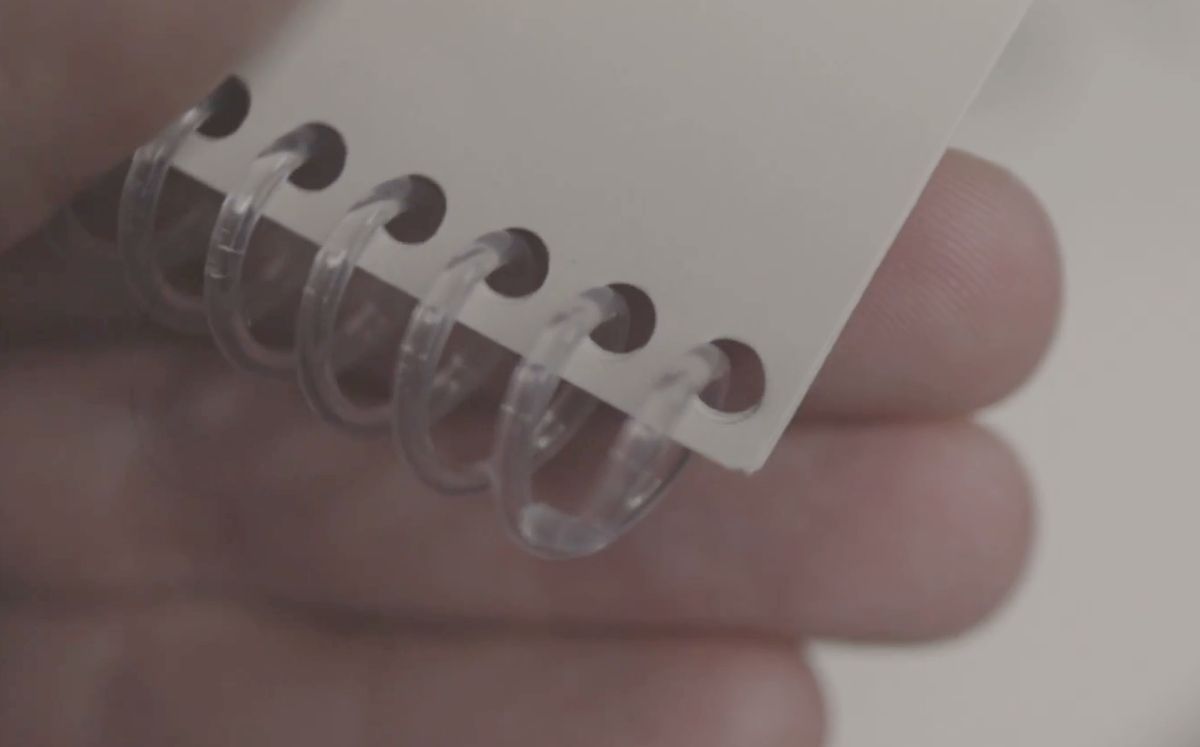
And that's all there is to it. Now you have a nice professional looking score, with a nice color and a nice weight. You can flip it around very easily without making much noise at all.
What to do next
Before you print your score, get my free engraving checklist for simple ways to make your score easier to read, rehearse, and perform.